
My Painting Toolkit
Today it's all about watercolor supplies. As you may have noticed, watercolors are my primary medium (I'm a little obsessed), and over the years, I've invested in some quality tools that have improved my painting experience tremendously. I'll talk you through what I like to use, but also offer some recommendations for those of you who may just be starting out.

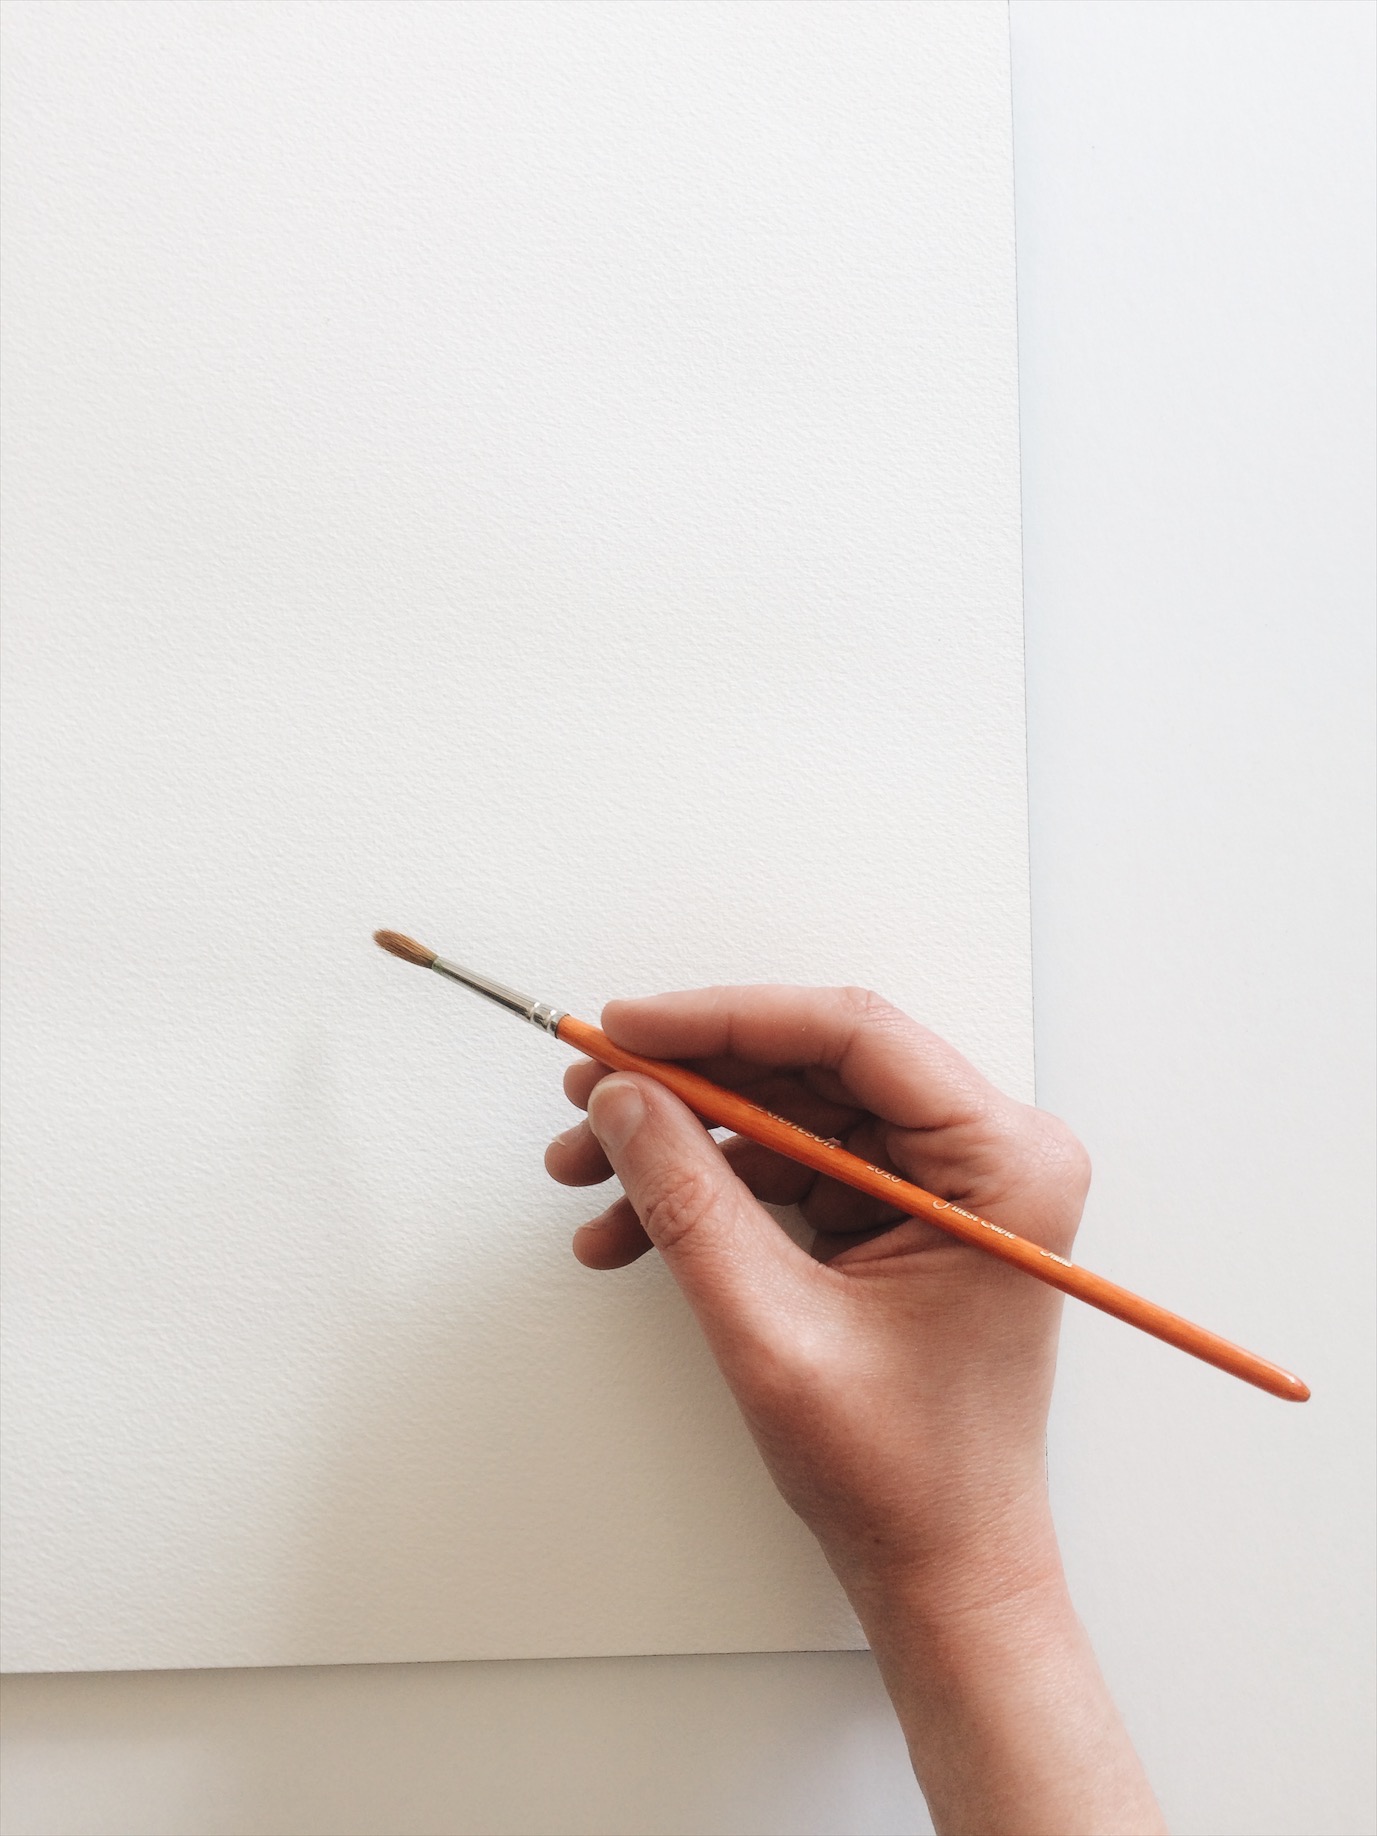
BRUSHES
Brushes come in a very wide array of sizes, shapes, and quality levels. The type of brush I use the most is a round brush (all the ones clustered up there on the right are round brushes). They're extremely versatile because you can use them to make all types of lines, from thick to thin. On a typical 11x14 painting, I use a range of sizes from #2 - #10 (#2 being the smallest). Another type of brush I commonly use is called a flat brush (pictured on the left). These are excellent for angled lines and straight edges.
Now, the quality of the brush itself comes down to the type of fibers used to make up the bristle. Traditionally, watercolor brushes are made out of sable hair (apparently a sable is a type of weasel), which has excellent water retention and flexibility. These are a bit on the expensive side, so thankfully, there are many options for those who aren't ready to invest in a brush made of weasel hair, such as synthetic brushes like this one.
However, if you are getting more serious about your watercolor practice, I would highly recommend making the leap to sable hair brushes. You'll be amazed at how much easier it becomes to control the water and create a more high quality painting. The online art supply company, Dick Blick, offers incredible deals on some really nice brushes, such as these Winsor & Newton ones. The most common sizes I use are: #2, #4, #6, and #10.

My palette is never clean.
PAINT
Watercolor paint comes in two forms, dry pan sets and tubes. For those of you just starting out, a pan set is probably the way to go. Basically, it is a tray with dried blocks of pigment that are activated with water. You've probably seen the Crayola one made for little kids. They make big kid versions of this too, which can be very high quality. I love pan sets because of how easy they are to use and clean up. It's a great option if you don't have much space in your home for painting in, because you can just fold it up and put it away. I particularly like this set by a company called Yarka. It's extremely affordable and the paint is very vibrant.
I painted with a pan set for quite awhile before investing in tube paint, but once I started painting more seriously I wanted to have more control over my palette. Watercolor tubes typically come in 5ml or 15ml sizes of very concentrated pigment. Once you get a palette like this one (pictured above), you can then endlessly customize your colors.
I've been using paint from a company called Holbein. I started with their 12 color 5ml tube set, which I loved, because it helped me determine which colors I used the most frequently. I then replaced the smaller tubes I used most with their larger 15ml individual tubes.
PAPER
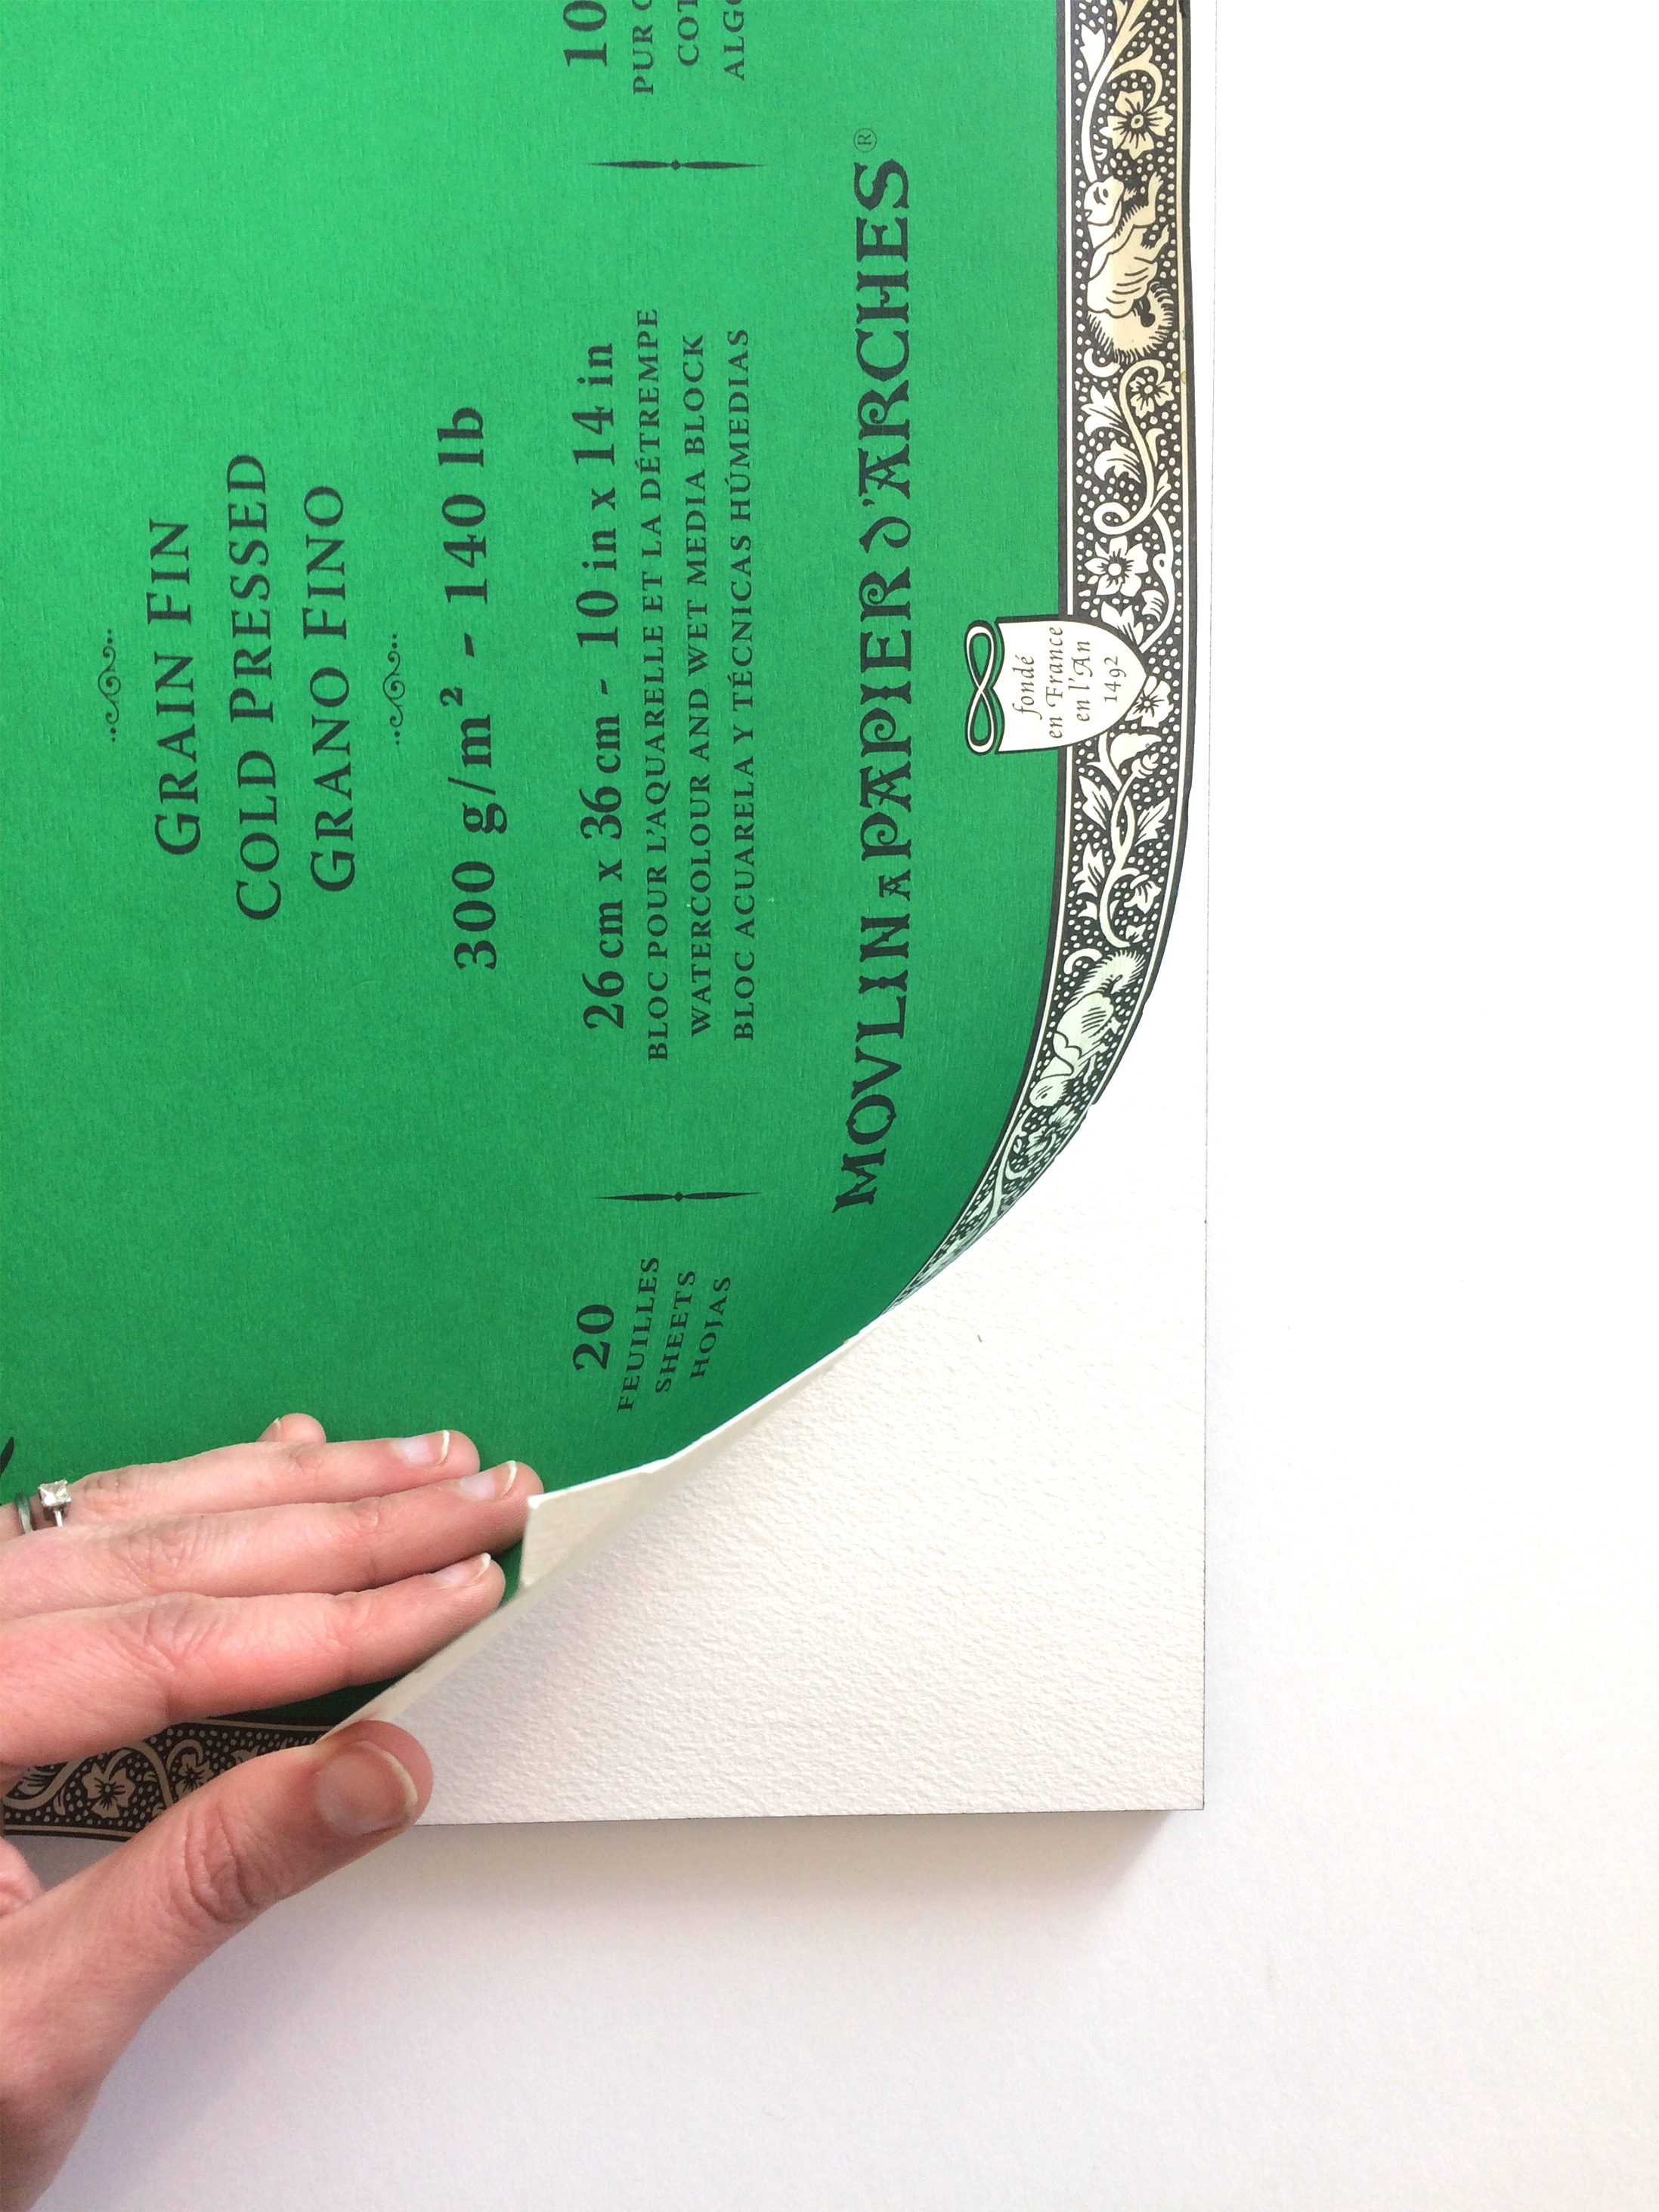
The last essential item in the toolkit is the paper. I have experimented with a LOT of paper over the years, and out of all the tools, I think this one makes the biggest difference. First of all, it has to be thick enough to hold the water you're going to be painting on it with. A very common watercolor paper weight is 140#, and I wouldn't go any lower than that because the paper has a tendency to warp once water is applied.
Paper also comes in a variety of textures. Most commonly used is a texture called "cold press," which has a beautiful, rough surface. It blends colors really beautifully and gives your painting that "traditional" watercolor finish. I love using cold press paper for landscapes. Another common texture is called "hot press," which has a very smooth finish. The water absorbs a bit differently on this paper, but the smoothness allows for much sharper lines. I typically use a hot press paper for my botanical paintings.
Once you are ready to paint a bit more seriously, I highly recommend using a watercolor block. A block is a pad of paper that is sealed around the edges, which keeps your paper tight while you're painting. Once the paint is dry, you remove the page by running a blade around the edge of the block. They're really wonderful, but of course, pricey. As a more affordable option, I use this watercolor pad by Fabriano for my watercolor workshops, and think it's a really good choice for students. The price is excellent, and the quality is really good. However, you will want to get some masking tape along with this paper, so that you can tape it down to a board while you're painting. Again, this will keep the paper from warping while it's wet.

So, whether you're just starting out or have painted for years, I hope it's helpful to see what another artist is using to create her work. Having a solid toolkit really does help make painting more fun, because when tools work the way they're supposed to, you are the one in control. Happy painting!
Here is the list of links I used throughout the post (S=Student, P=Professional):
Fabriano Watercolor Pad (S)
Arches Watercolor Block (P)
Holbein Watercolor Tubes (P)
Yarka Watercolor Pan Set (S)
Winsor and Newton Sable Hair Brushes (P)
Dynasty Synthetic Brushes (S)
Guerrilla Paint Palette (P)